Custom Golf Shaft Installation — What to Expect and How It Works
11 May 2026

You've done your research, you've picked your shaft, and now you're wondering: what exactly happens next? Getting a custom shaft installed in your driver doesn't have to be complicated, but there are a few things worth understanding about the process. Here's a step-by-step breakdown of how custom golf shaft installation works at Dallas Golf.
Step 1: Selecting Your Shaft
Before anything else, you need to choose the right shaft. Key variables include shaft weight (typically 45–80g for drivers), flex (Regular, Stiff, X-Stiff), torque, and kick point. Read our guides on Stiff vs Regular Shaft Flex and What Is Shaft Torque to help narrow your options. Or call 800-955-9550 and talk to our team. Browse the full shaft lineup at Dallas Golf.
Step 2: Choosing the Right Adapter

Every major driver brand uses a proprietary hosel system, which means the shaft must have a brand-specific adapter. At Dallas Golf, all of our shafts come pre-built with adapters for the most popular driver brands — TaylorMade, Callaway, Titleist, Ping, and Cobra. When you order a shaft, simply specify your driver brand and model and we'll build it with the correct adapter.
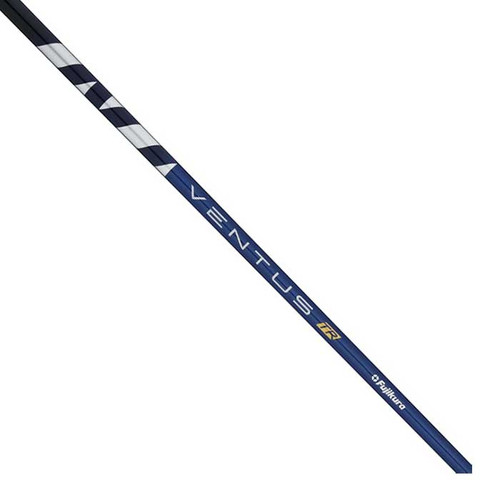
→ Shop Fujikura Ventus Blue w/ Adapter at Dallas Golf
Step 3: The Build Process
Here's what happens in our custom club building shop:
- Shaft inspection: Every shaft is inspected for straightness and quality before building
- Adapter epoxy: The adapter tip is bonded to the shaft with high-strength epoxy and cured
- Length trim: The shaft is cut to your specified length
- Grip installation: Your chosen grip is applied
- Swing weight check: The finished club is weighed to confirm swing weight is within spec
- Quality control: Final inspection before shipping
Step 4: Installing the Shaft in Your Driver Head
When your built shaft arrives, installing it in your driver head is simple. Modern adjustable drivers use a torque wrench mechanism to lock the shaft into the hosel. Insert the adapter into the driver hosel, align to the desired setting, tighten with the torque wrench until you feel/hear the click, and you're done. No permanent bonding required.
→ Shop Fujikura Ventus TR Blue w/ Adapter at Dallas Golf
What About Non-Adjustable Drivers?
If your driver has a fixed hosel, the shaft is permanently bonded with epoxy. This requires a more involved process — the old shaft must be removed using heat, the hosel cleaned, and the new shaft bonded and cured. Dallas Golf's team handles both adjustable and fixed hosel builds.
Turnaround Time
Most custom shaft installations at Dallas Golf ship within 1–3 business days of your order. Rush options are available — call 800-955-9550 if you need a club built for an upcoming tournament.
How Much Does Custom Shaft Installation Cost?
When you order a shaft from Dallas Golf, the adapter and grip installation is included in the price. For a detailed breakdown, read our post on How Much Does a Custom Golf Shaft Cost?
Shop Custom Built Shafts at Dallas Golf
Browse the full lineup of custom driver shafts at Dallas Golf — including Fujikura Ventus, Graphite Design Tour AD, Mitsubishi Diamana, and more — all pre-built with adapters and grips. Or explore our custom built club packages that include everything from head to grip in one bundle.